Before I Begin
Looking back on my past year of study, I made Rice Cooker Civilization and Cardboard War, and also worked on Drone Challenge Demo and Lullaby in the Slits of Sunset. Before starting my final project, I already had a rough direction. Last semester I researched wasteland aesthetics and looked at its main features. This semester I decided to write a paper titled How Does VFX Reshape the Representation of Violence in Contemporary. After reading many papers and watching many films, my focus naturally turned to what is happening in the world today. This includes the Russia–Ukraine war, the rise of AI, the pandemic, and global waste colonialism. These issues pushed me to create a short film that shows my thoughts on these problems and how I understand the world I live in.
Reference
During my research and reference search, the story that impressed me the most was Three Robots from Love, Death & Robots. It follows three robots with different personalities wandering through a post-apocalyptic city, touring human ruins and joking about how humans pushed themselves to extinction. The light tone makes the ruined world feel absurd while still carrying reflection, and this inspired me a lot.
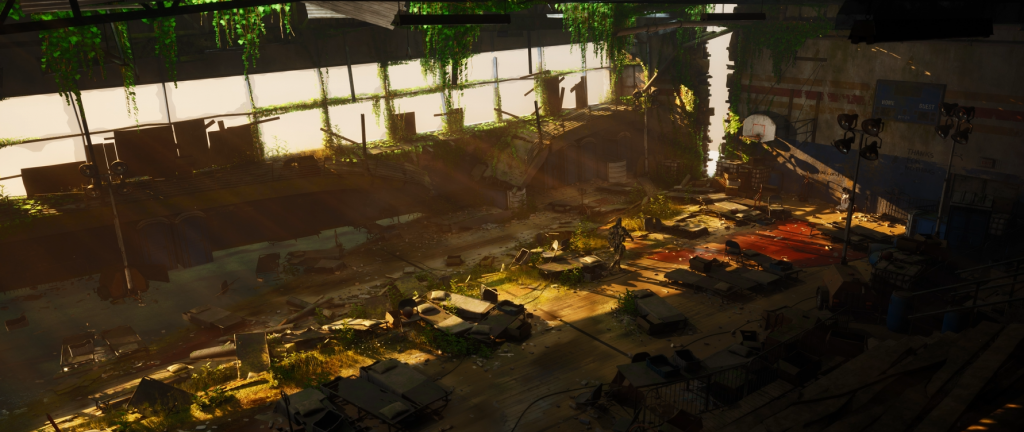
In the second scene of my short film, you can see how I borrowed the basketball imagery from that episode. A basketball court in a ruined world creates a strong contrast. Basketball represents order, rules, teamwork and energy. It is a normal part of everyday public life. When it appears inside a broken landscape, the image immediately shows a “cut-off normal life”, reminding viewers that there were once people, communities and daily routines.
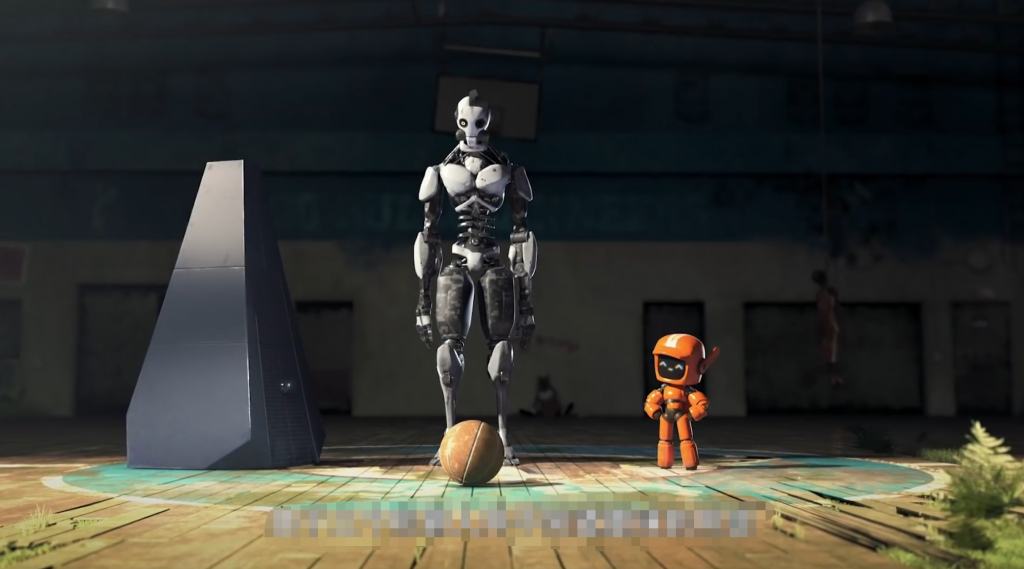
Image Source: Love, Death & Robots, “Three Robots”
The link between sports and war also becomes clear here. Sports are competitive but follow rules; war is competition without limits. Putting sports symbols into a post-apocalyptic scene makes people think about how human conflicts move from controlled competition to uncontrolled destruction.
In Three Robots, the humor comes from the robots acting like tourists studying human habits, turning a serious ruin into a strange sightseeing spot. Their calm comments on human choices make the scene absurd and reflective at the same time.
I used a similar contrast in my film, placing the light feeling of sports inside the heaviness of the ruined world to create cold humor and highlight how fragile society is. I also added a starving basketball boy to the story. By bringing together basketball, dreams, hunger and the post-apocalyptic setting, the scene naturally leads to one question: what has happened to this world?
Another piece that helped me shape my story was The Wild Robot. It’s about a robot helping a goose migrate to South Africa. I really liked how the story was built, so I used a mission-driven structure for my film. In my version, the robot wakes up, gets a task, picks up a key item and then heads to the mission spot. The goal stays clear the whole way, so even without dialogue or narration, the story is still easy to understand.
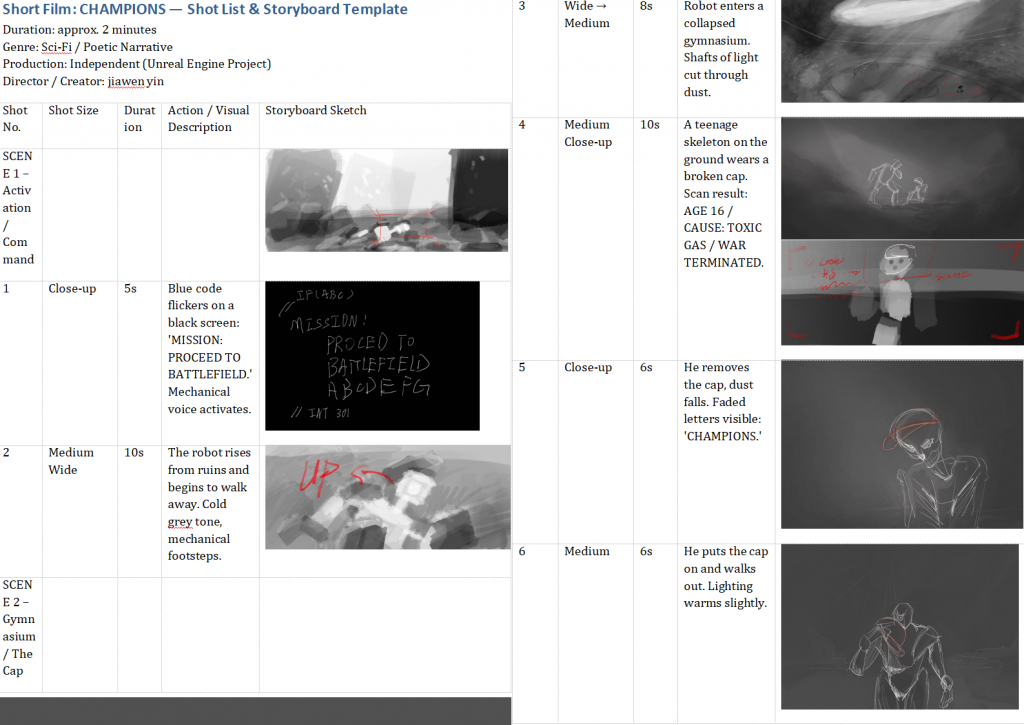
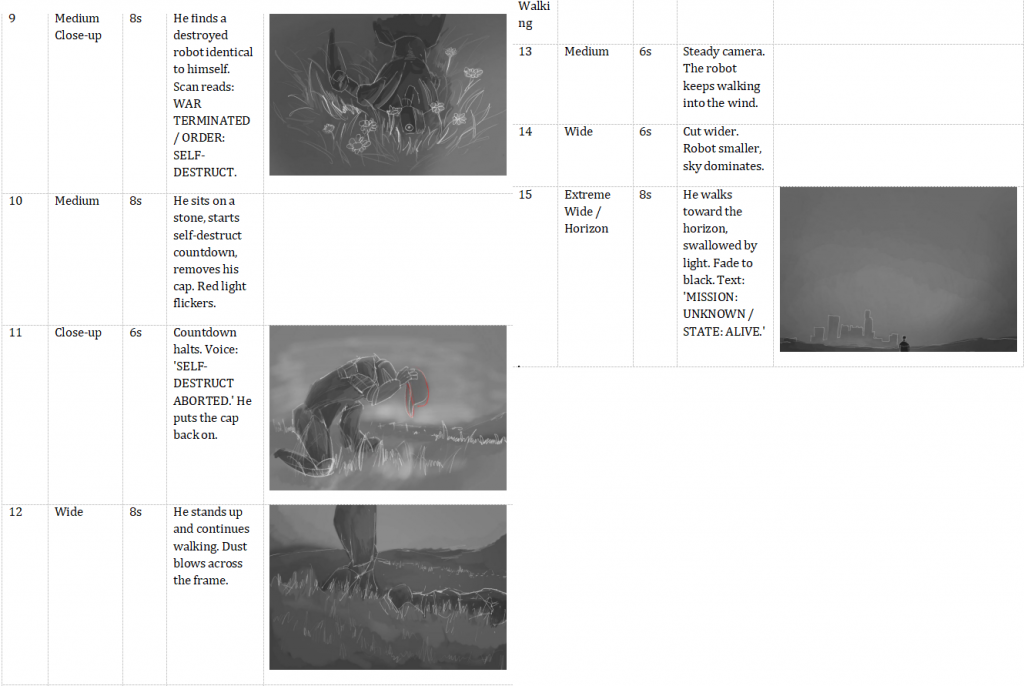
Storyboard
Aesthetic Research:
I actually finished this part last semester. I already had a feeling that my final project would deal with war and post-apocalyptic themes, so I used my essay as a chance to study post-apocalyptic psychology and break down several well-known wasteland films and games. All this research made it much easier for me to build my scenes later.
Shot Design:
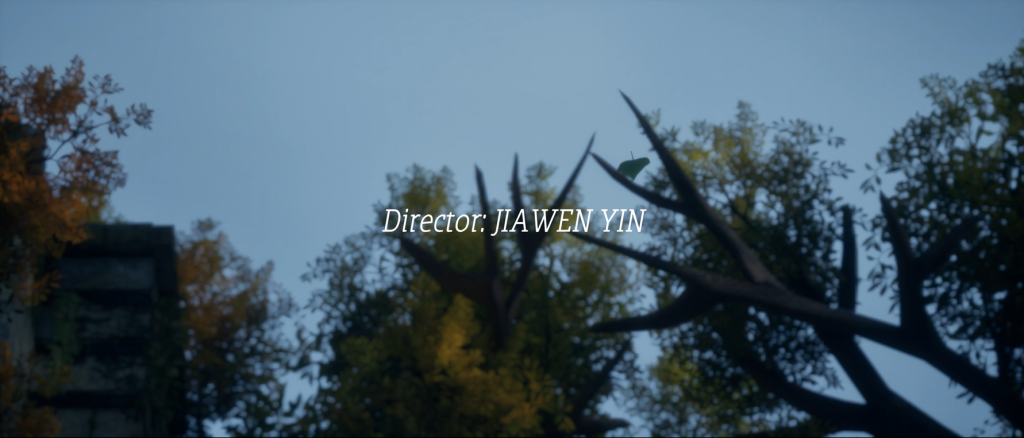
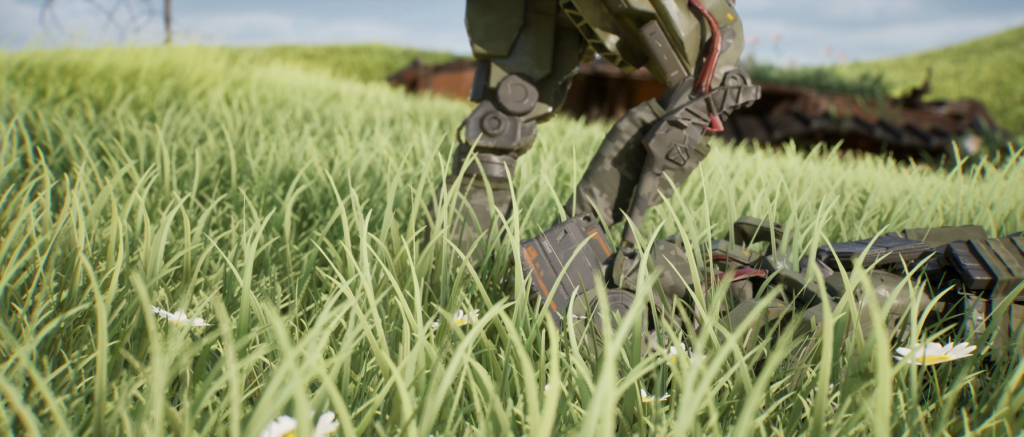
The opening shot starts with a leaf from a plant called Boston ivy. It grows well on building surfaces and is often seen in post-apocalyptic visuals, symbolising resilience and life. This plant appears many times throughout my film. Using it at the beginning helps catch the viewer’s attention, set the environment, introduce the main character and leave space for the title. The original shot was around 35 seconds, but I wasn’t sure if it would work. After asking Emily, she suggested shortening it, so the final version is only about ten seconds.
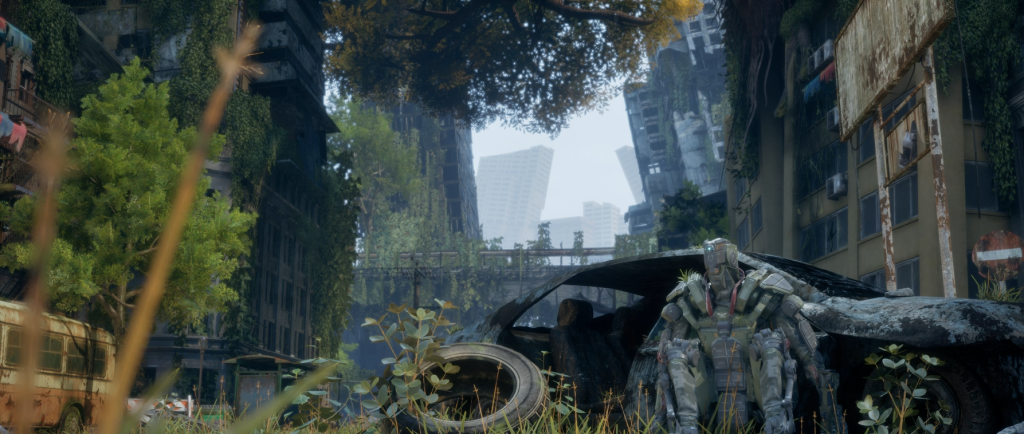
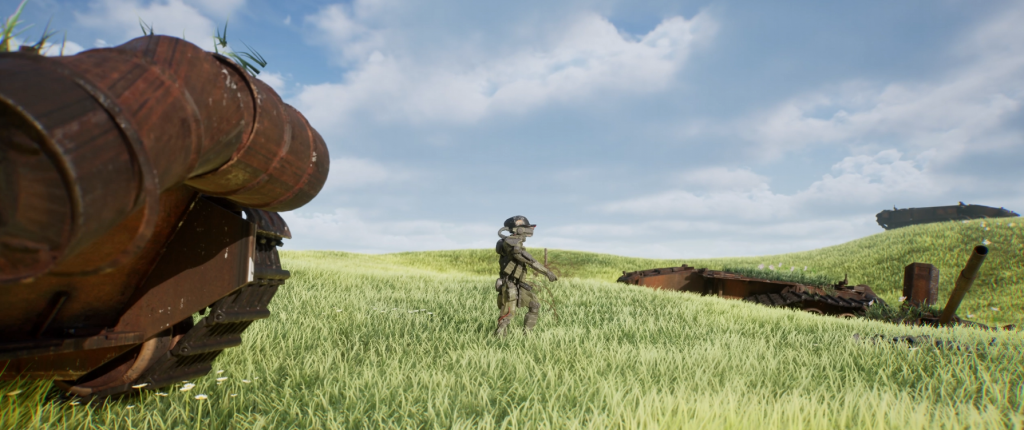
This is my favourite frame. The whole film is rendered at 5070×2160. To get this level of detail and clarity, my laptop had to carry a lot of pressure. I usually use tile rendering, splitting a frame into four parts and stitching them back together. Luckily, UE renders quite fast, but my laptop still crashes about once every two hours. The main issue is my limited VRAM. I could fix it by lowering the resolution or quality, but I didn’t want to compromise. In the end, I’m really looking forward to seeing how it looks on a 4K screen.
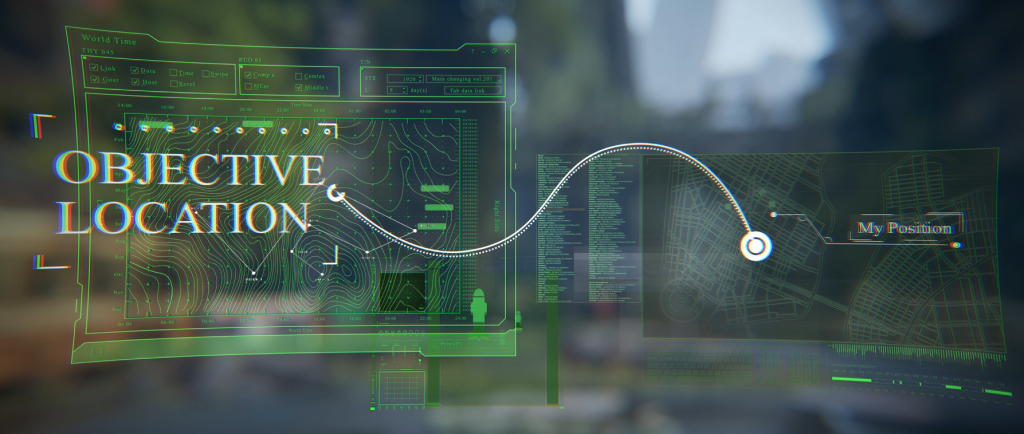
In this shot, you can see lens distortion, caustics and vignette effects. I added these in After Effects, though they were just small extras. The main reason I used AE was for the UI animations. AE has more presets and a much easier timeline to control. So I did all the post-production in AE, which saved a lot of time and also a lot of storage space, since one lossless export can easily take up hundreds of gigabytes.
This scene is based on an existing asset, but I rebuilt the lighting, added Boston ivy, and adjusted parts of the layout. While working on it, I ran into some version issues, which I’ll explain later in the technical section.
I many time on the lighting for this shot, and I’ll explain the details later in the technical section.
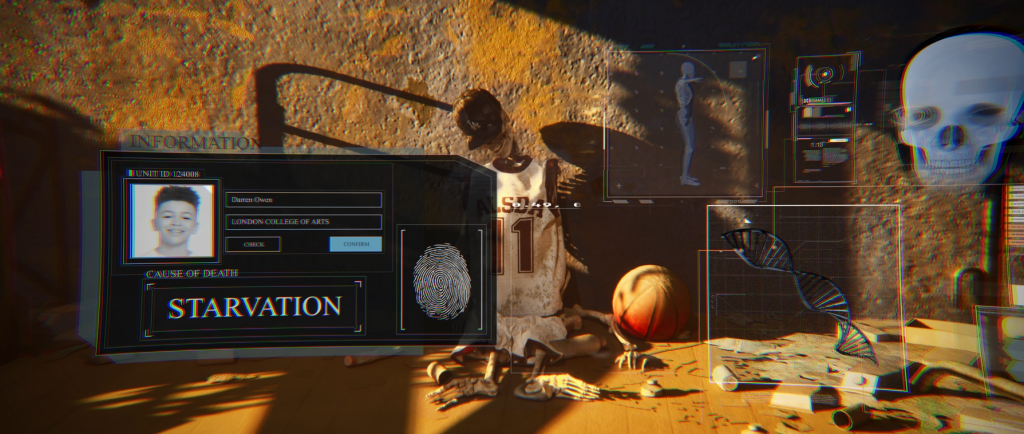
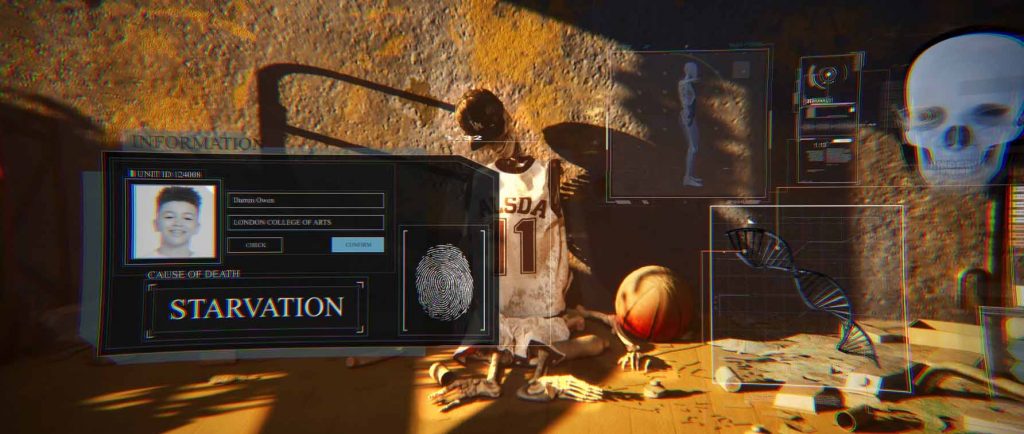
In this shot, you might have noticed a few menu items :D. The photos on the list were generated with AI.
This shot is the one I’m not fully satisfied with. It’s only two seconds long, but I still want it to look more refined. At the very least, the wall texture in the back needs more work, since the current detail isn’t strong enough. The lighting also needs a bit more polish.I will re-render this shot later.
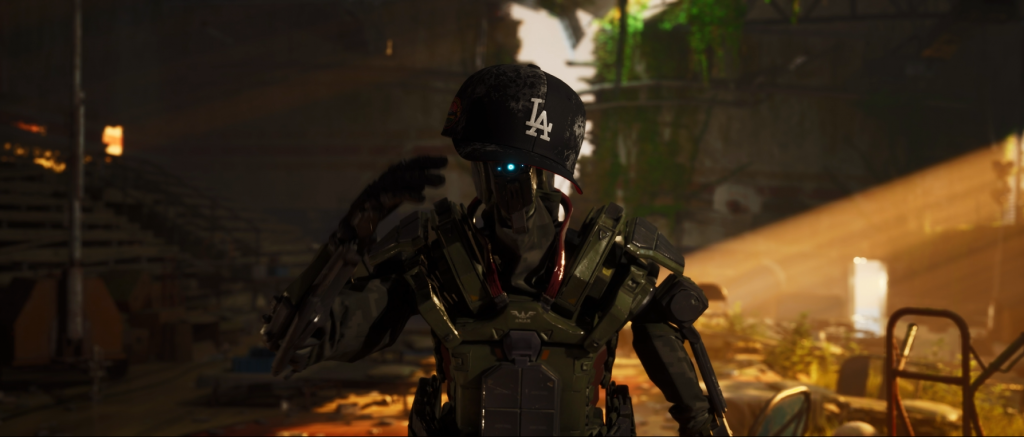
The hat-matching issue here ended up being fixed with hand-keying hhh. In the end, humans are still more reliable. Sometimes you just have to rely on the old-school way. Also, this shot feels a bit flat and lacks depth. I placed a chair and a forklift in the mid-ground, but the sense of space still isn’t strong enough.
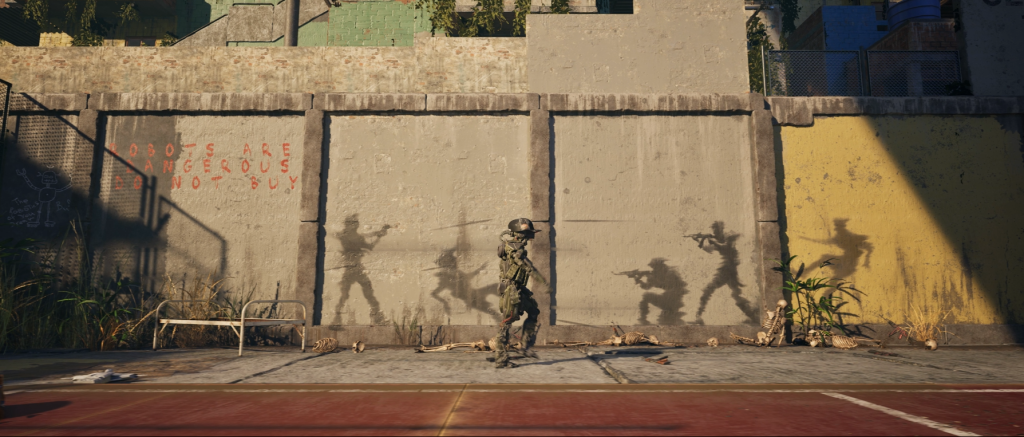
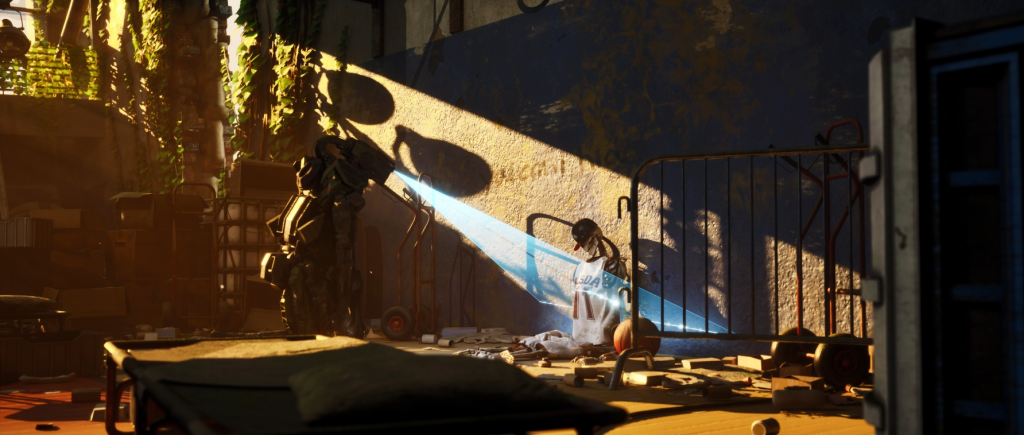
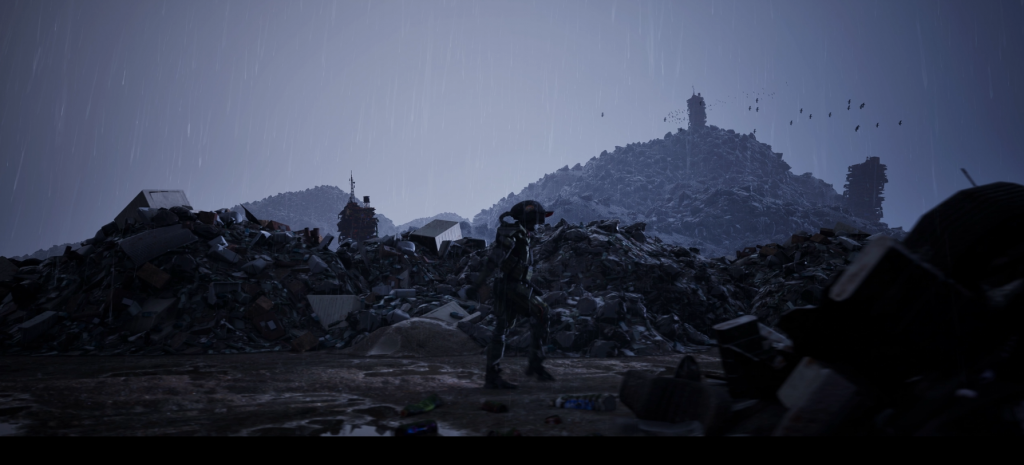
In this shot, I mainly wanted to create a contrast. The nuclear shadow on the wall and the debris on the ground hint at what once happened here. Notice the bone under the corner of the wall.
This scene was inspired by real nuclear blast imagery. The photo above was taken about 350 meters from the Hiroshima blast center in 1945. The dark shape is the shadow left by a man who was sitting on the steps at the moment of the explosion. A nuclear blast is essentially an intense X-ray source, creating CT-like shadows on building surfaces where objects or people once blocked the radiation.
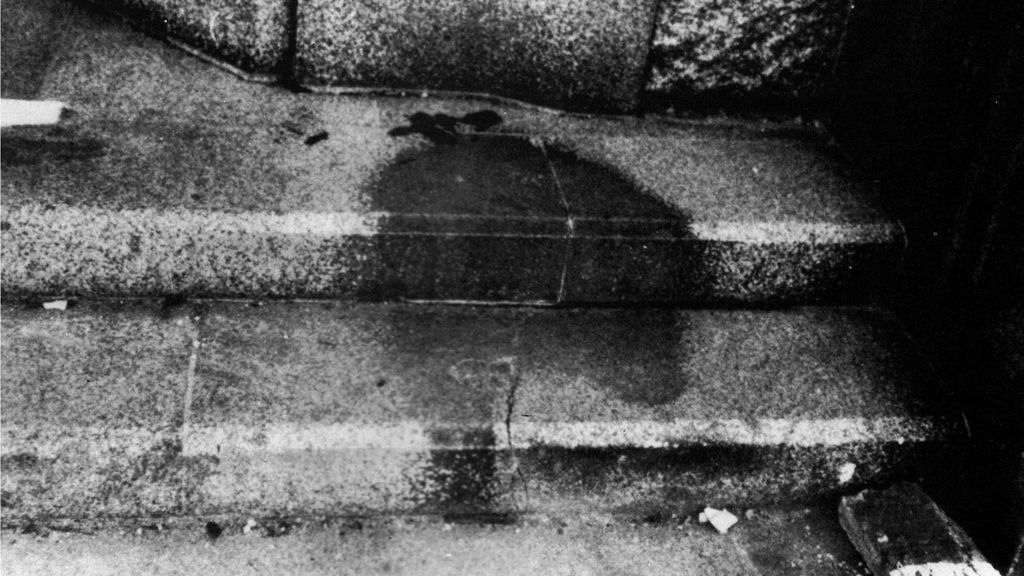
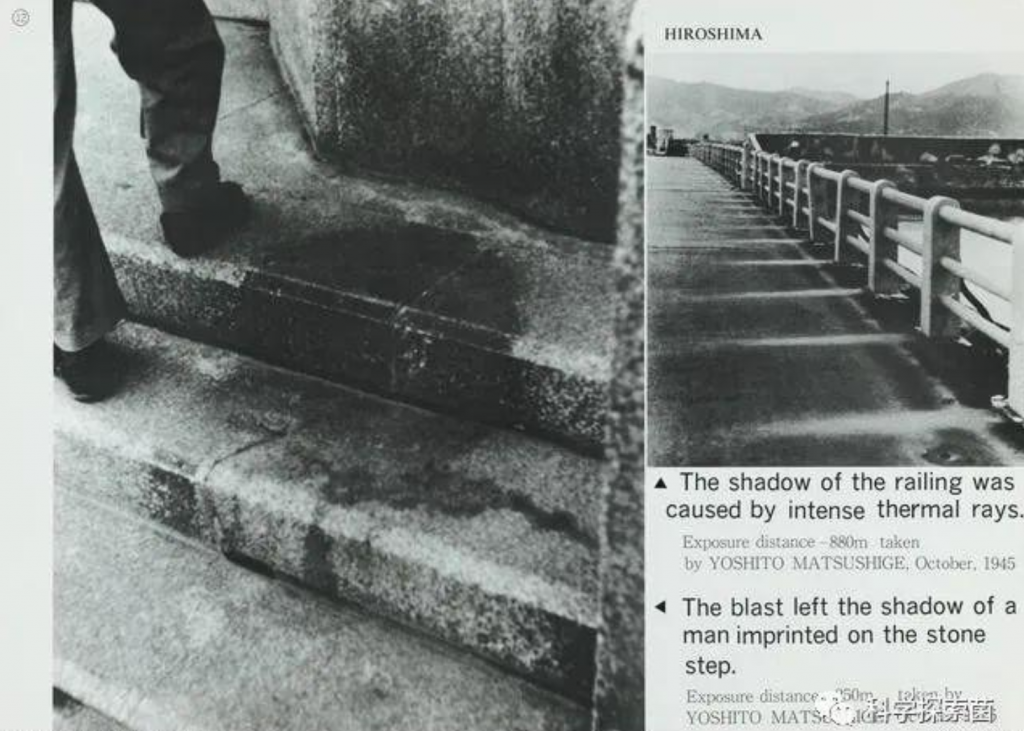
Image source: Taken by Youshito, 1945.
This shot is about waste colonialism. Many developed countries ship their trash overseas to meet their own environmental targets. At home they promote a “green lifestyle”, but the real cost is pushed onto countries in the Global South. Without advanced waste-processing systems, local people are forced to burn or bury the waste in the most basic ways just to survive, causing even more pollution. And the worst part is—we all live on the same planet, don’t we?
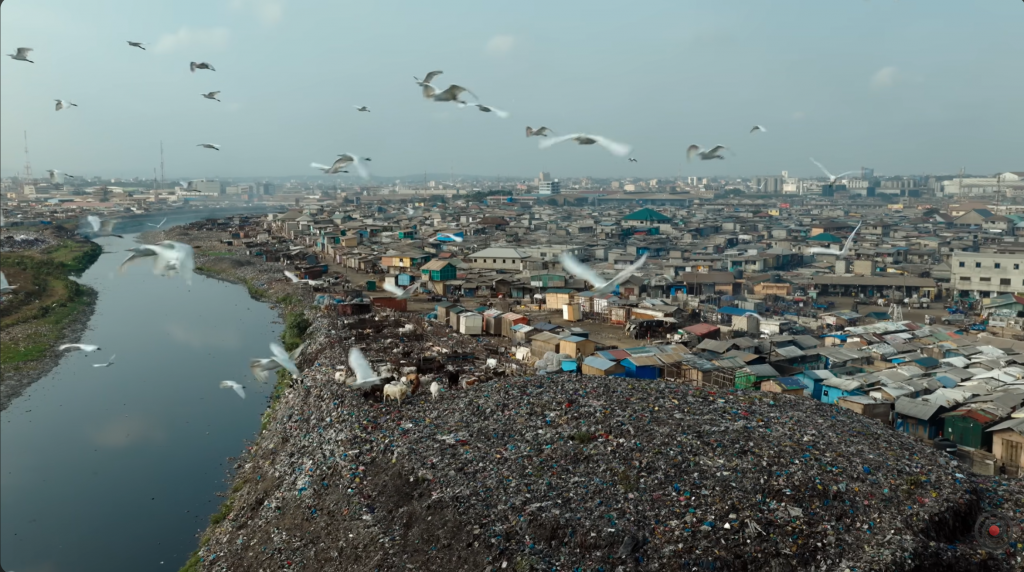
Image source: MediaStorm
Location: Republic of Ghana, 2025
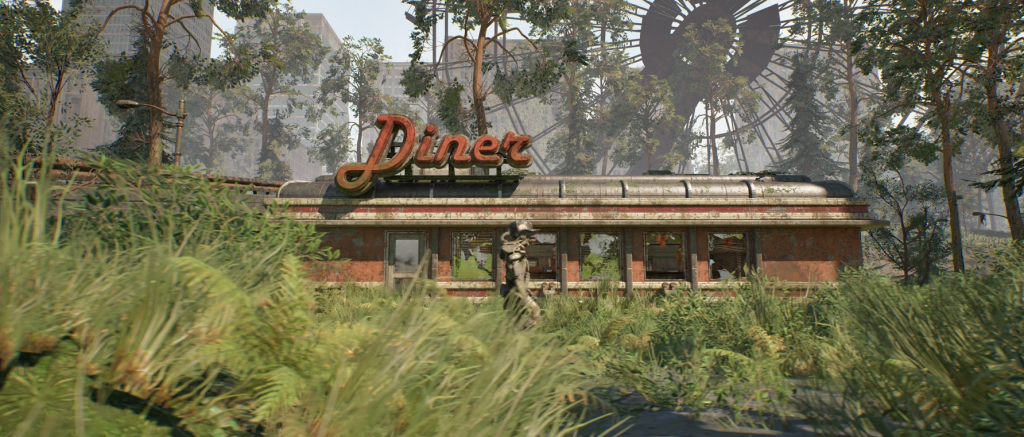
This shot is a tribute to one of my favourite frames from Three Robots in Love, Death & Robots.
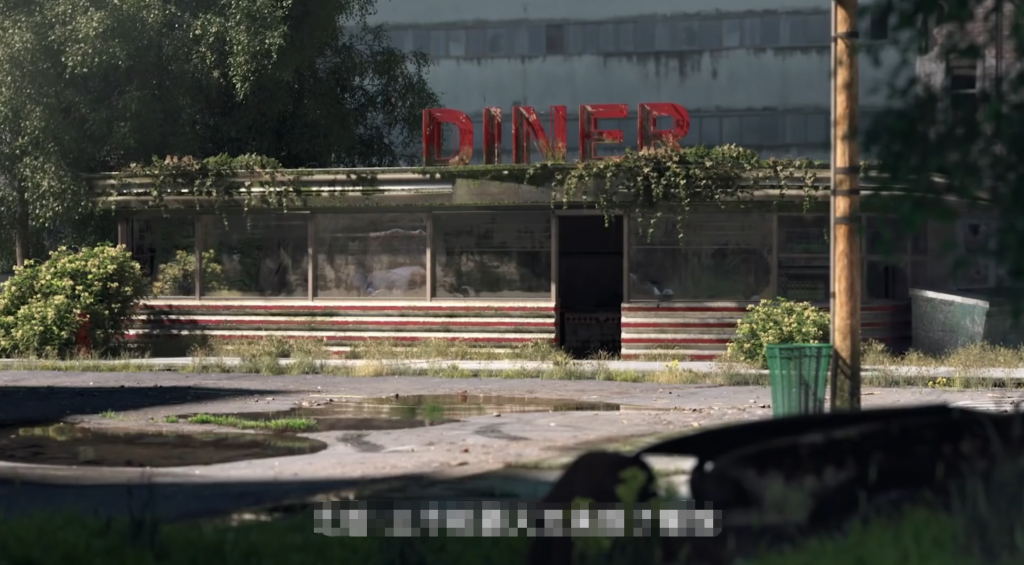
Image source: Love, Death & Robots, “Three Robots”
At this point, the long shot comes to an end, and the character reaches the final scene. It shows a post-apocalyptic world, but what it really reflects is my thoughts about our present reality.
For the final scene, I originally wanted to create something much more detailed, but by the time I reached this part, I had less than five days left. So the complexity of the environment and the lighting design is noticeably weaker than the earlier scenes. I still had motion graphics, editing, sound work and the blog to finish, so I had to compromise here. Fortunately, the powerful sky plugin and the dynamic grass assets I used helped hold the scene together, and I only needed to make simple edits to the terrain.
Although this final scene is different from what I first imagined. I originally wanted something with the same melancholic tone as the earlier shots, but due to time limits, it somehow ended up looking like the Windows XP wallpaper. Since it already felt peaceful, I decided to lean into that feeling. I added some flower assets and used convolution-style lighting to get softer highlights and a gentler glow, giving the audience a moment to breathe. Looking back, it actually works quite well.
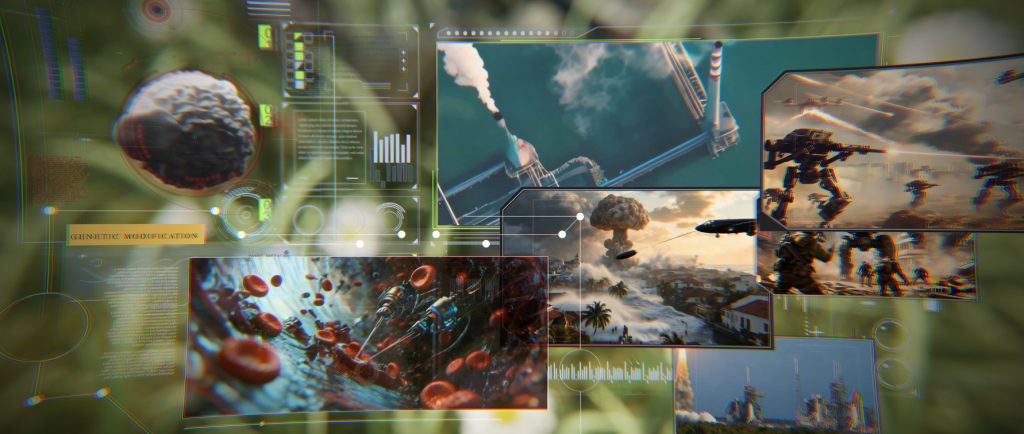
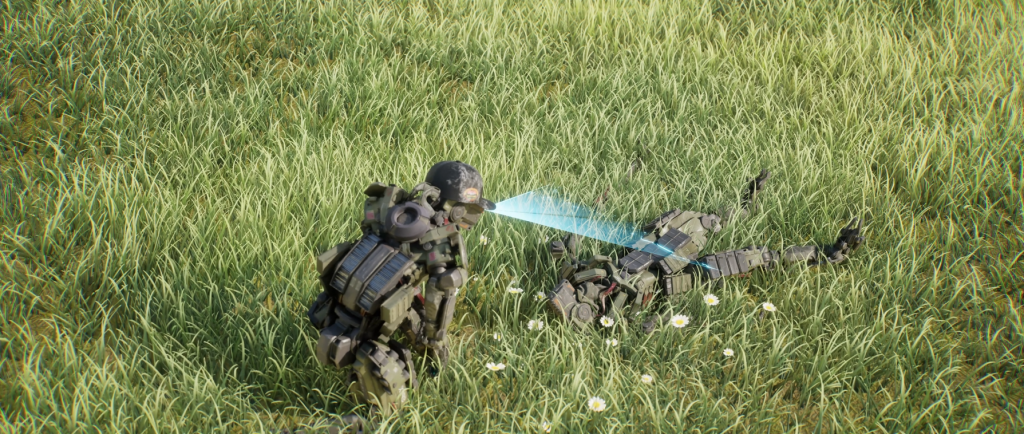
This shot is pulled straight out of the dead robot’s memory, basically saying “the world is done, please start your self-destruct sequence”. All these visuals were generated with AI.
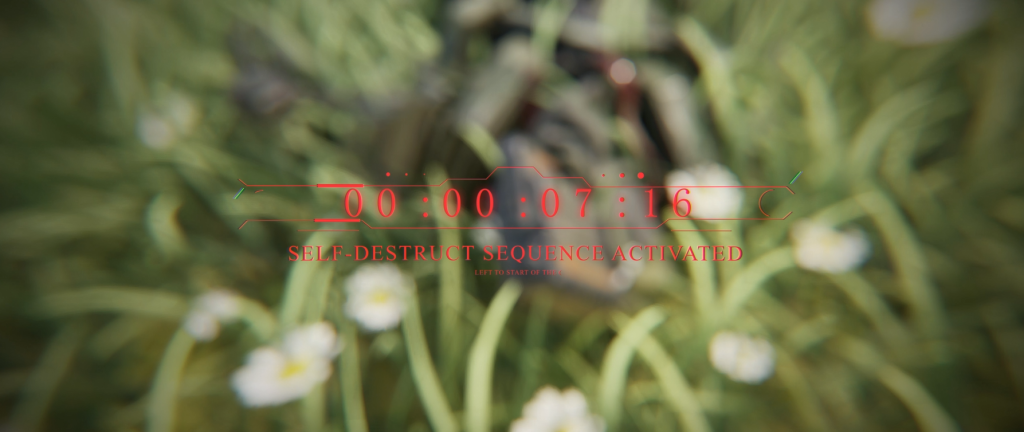
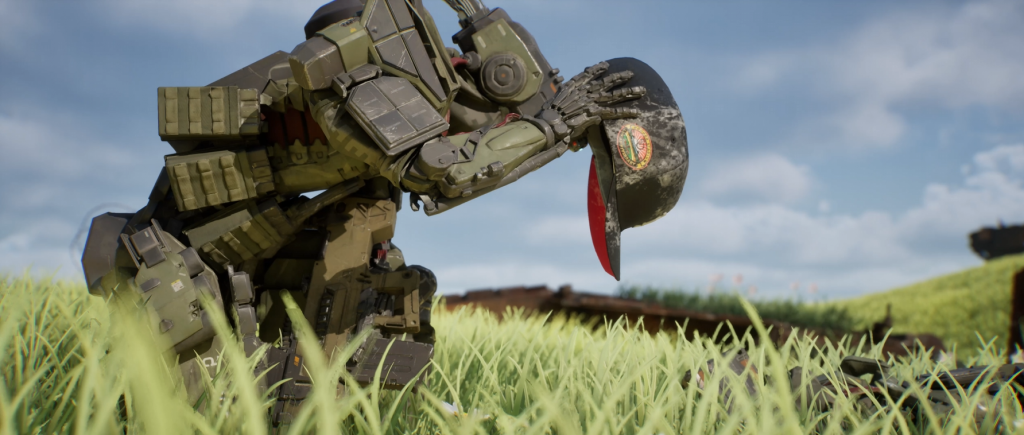
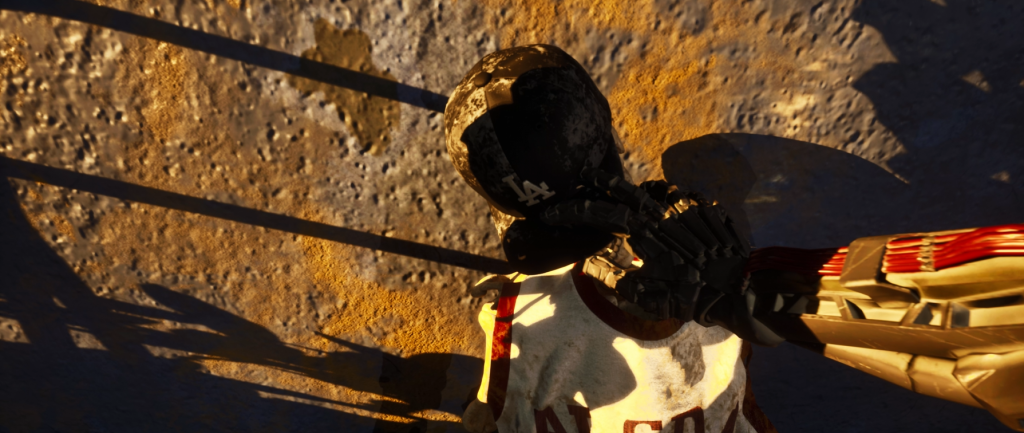
Here I used the music, the countdown and the hat-removal moment to create a small emotional peak. But honestly, this part needed more shots to fully land — I just didn’t have enough time.
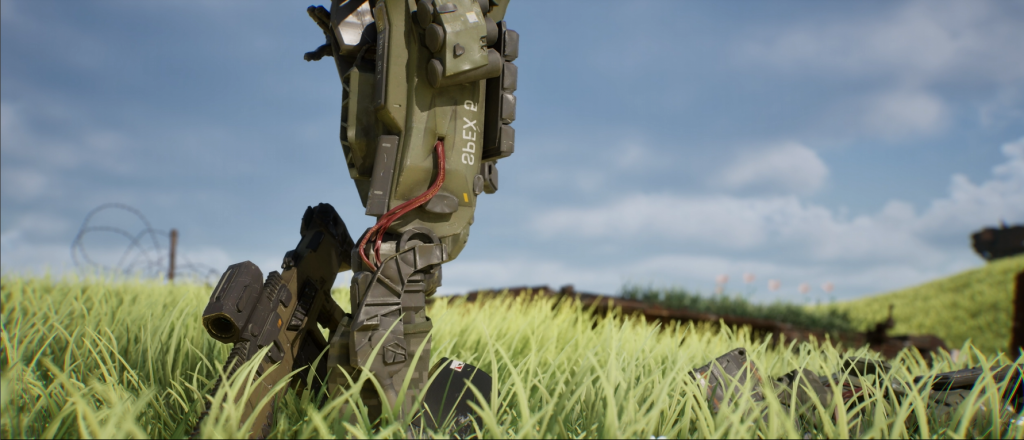
Here the character drops the gun, symbolising that it has finally let go. The hat that gets thrown also shows up in the render, which is a bug. I’ll fix it before the exhibition.

This is the final shot. The character’s walk changes from the original pose — right arm swinging and left arm holding the gun still — to both arms swinging freely, though it still keeps a bit of that marching-step habit. It shows that it’s becoming more free. At the end, the title drops down, and I added a line to make the composition visually wider. I still haven’t found a font I really like, so maybe when I have time, I’ll pick a better one for the title.
Technical Breakdown
Production Workflow Overview
My production workflow starts with importing assets into UE, checking and testing them there. Some models need adjustments, so I fix them in Blender. Certain assets use MD for cloth simulation before being brought back into UE for scene building. After the lighting setup, I use animation clips with Control Rig to refine the movements, and when needed, I hand-key frames and adjust curves. Once everything is ready, I render PNG sequences, bring them into After Effects for motion graphics and color work, then move to editing, sound and final export.
Version Issues
I started the project in UE5.6 because its new features were very useful for my workflow. The upgraded animation layers and easier Control Rig binding made animation work much smoother. But after working in 5.6 for a while, I ran into several problems.
The first issue was asset import. In 5.6, I couldn’t simply drop files into the Content folder anymore. Everything had to be migrated from an older project. I thought it was my settings, so I checked many update notes and bug reports. It turned out that many users had the same problem. The new asset management system in 5.6 is more strict and requires proper asset signatures. Since I had a huge amount of assets to import, migrating them one by one would waste too much time.
The second issue was rendering. The new rendering engine in 5.6 changed a lot, and many older particle and lighting assets no longer displayed correctly. The update improved visual quality but also increased resource use, and it no longer allowed unbaked static lights. My laptop GPU is a mobile 4060 with only 8GB VRAM, so I couldn’t run many lights at once. Most lights needed baking, which slowed down my workflow.
Seeing that UE released the experimental 5.7 build with a new lighting system, I upgraded immediately. The lighting issues were eased, and surprisingly, the asset import problem was also fixed.
When 5.6 started causing problems, I did consider downgrading. But I’ve tried that before, and it only created even more bugs. So this time I chose not to go backwards and just worked toward a real fix.So I won’t be using 5.6 again. From my two years of working in UE, 5.4 and 5.7 have been the most stable and reliable versions, and the ones I use the most.
Asset Sourcing and Management
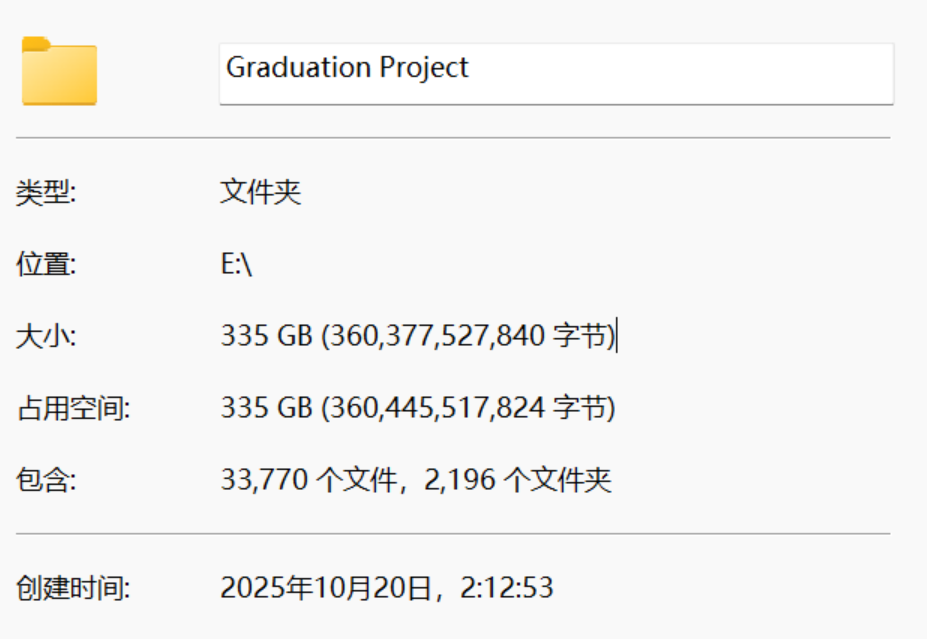
With only one month to produce this project and working completely on my own, I knew from the beginning that I couldn’t start everything from scratch. After evaluating all the shots, it became clear that achieving the visual quality I wanted required the support of well-chosen assets. So at the start of production, I downloaded and tested more than 200GB of assets in total. This alone took about one quarter of my entire schedule.
To make assets from different sources fit into the same world, I first cleaned and organised everything: renaming files, checking textures, adjusting material nodes and sending certain models to Blender for fixes. Cloth pieces were simulated in Marvelous Designer before being brought back into UE. After importing, I tested each asset under Lumen, fixing normals, adjusting materials, correcting pivots and handling any lighting issues or display errors.
Because UE5.6 has strict asset signature rules, I had to migrate everything from older versions instead of simply copying files. It was inconvenient but necessary for stability. After upgrading to UE5.7, most of these issues were resolved, and I reorganised the entire project structure to make the later stages of lighting, animation and rendering much smoother.
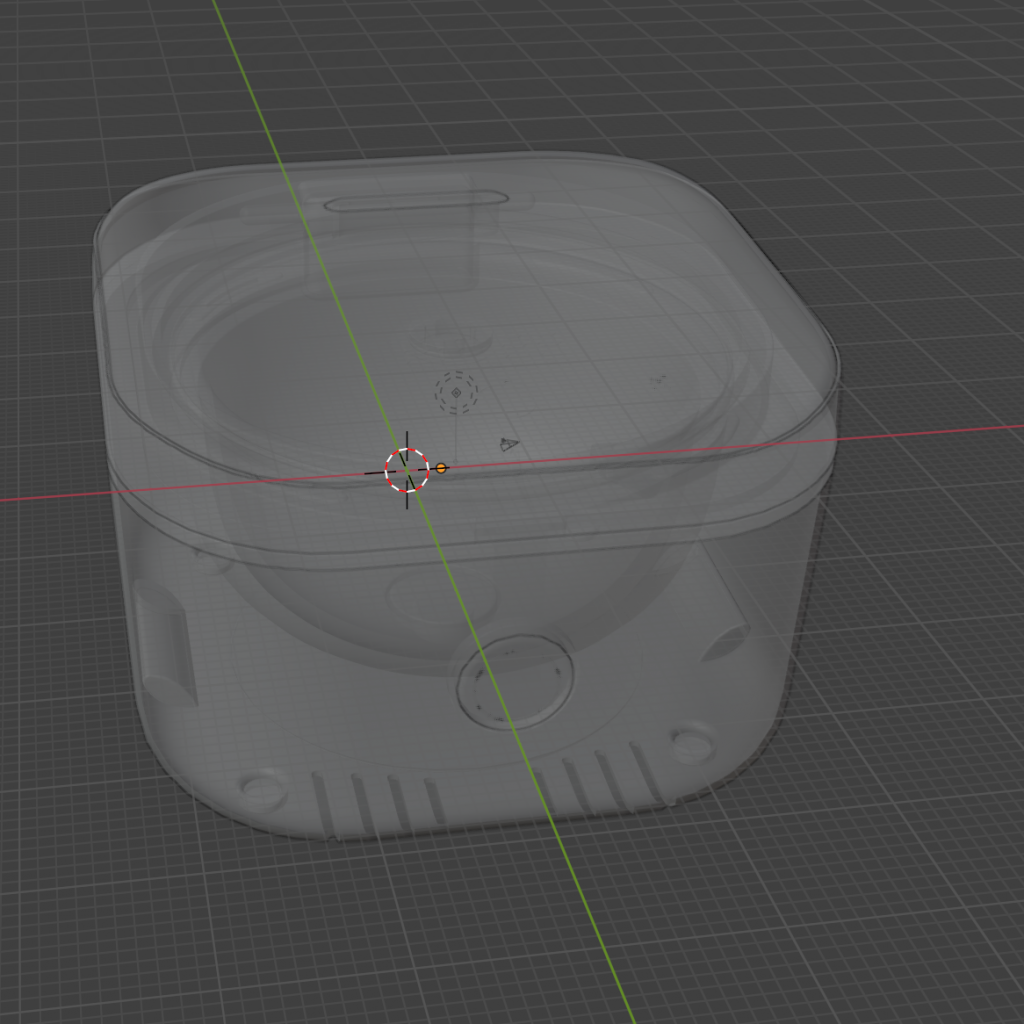
About the main character
At the start of production, I needed to find a suitable robot to serve as the main character. I eventually found one on ArtStation and purchased it. After that, I rigged the model, painted the weights and imported it into UE to create a Control Rig setup. Then I used the retargeting tools to match it with my animation library so the robot could perform all the actions I needed.
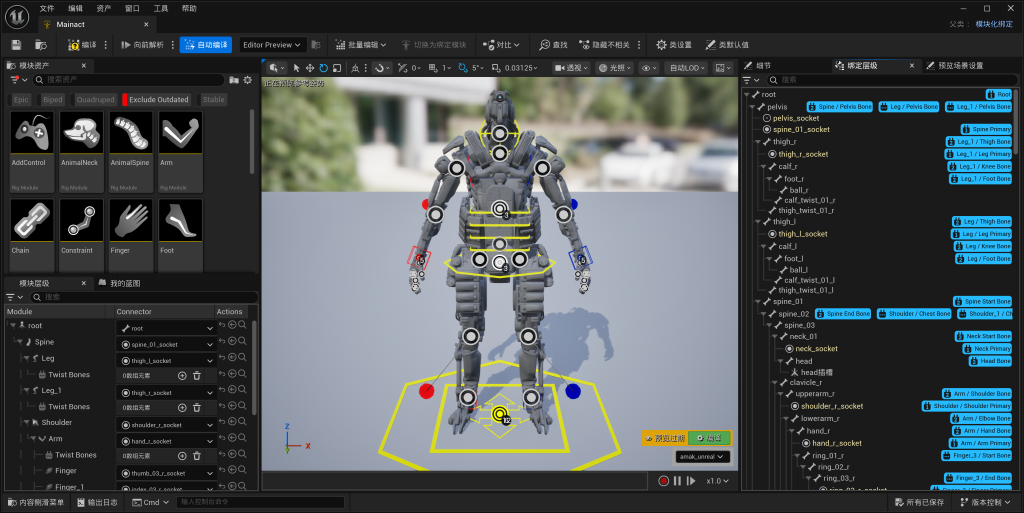
ControRig
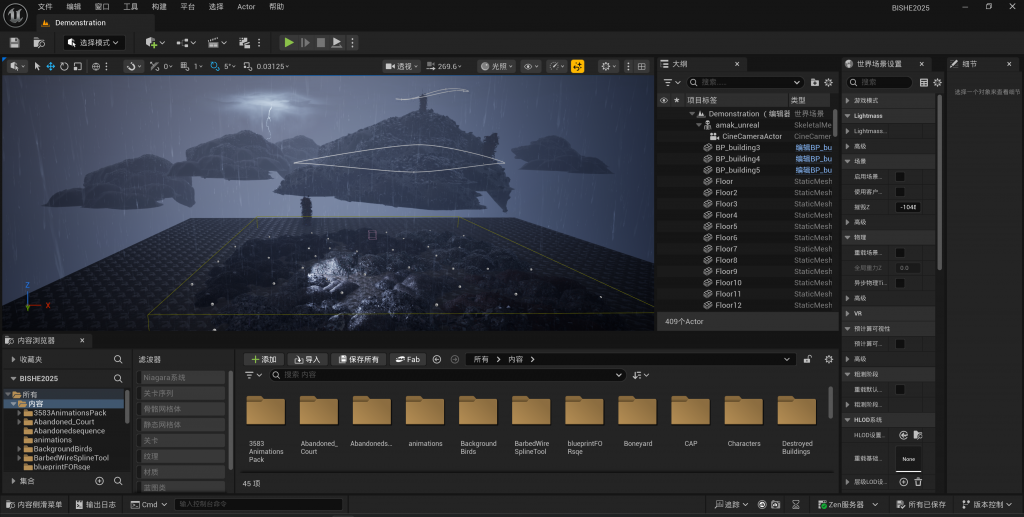
Scene edit
Reflection
Time passed so quickly. Now that this short film is finished, I’m about to graduate. Looking back on the past year and three months, I’ve gained so much. Moving alone from Shanghai to London for the first time, I learned far more than Houdini, Maya and Nuke. I learned how to read a rental contract, how to move house on my own, and how to cook food that actually comforts me. Looking back now, choosing UAL MA Visual Effects was absolutely the right decision. I met amazing people here, and I’m grateful for all the support that helped me find joy and growth in a city that was once unfamiliar.
As for the film itself, making it helped me understand my patience, weaknesses and determination in a new way. Technical problems, time pressure and the uncertainty of working alone pushed me to adjust, compromise and keep moving forward. Some shots still aren’t exactly how I want them to be, but this is the most honest version I can deliver under the conditions I had. More than the visuals, what I value most are the skills I developed along the way: judgment, decision-making and the ability to solve problems. And of course, I couldn’t have grown this much without everyone’s help.
These experiences will stay with me as real strength for the future. I know work and life will bring new challenges, but like the robot in my film, I’ll put my hat back on—and set out again.